This tutorial will guide you through downloading and installing processwire. It's quick and easy and you'll be up and running in no time.
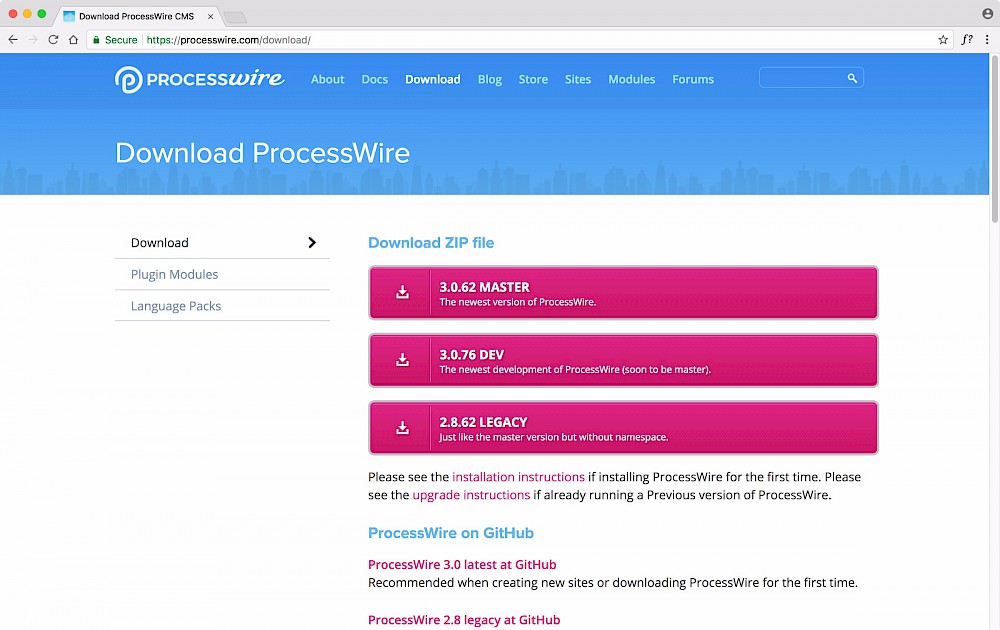
Head over to https://processwire.com/download/ and download the latest .zip file from there. In this guide I downloaded the 3.0.62 master version.
Once you have the .zip file downloaded, extract it to wherever you want, I just do it on the desktop. The resulting folder has a structure:
processwire-master
- stuff you want is in here
Copy the contents of the 'processwire-master' folder into your document root, be it public_html if you're on a paid hosting account or the root of whatever folder you set in in your local server. For example, my document root is 'pw.tuts.dev'.

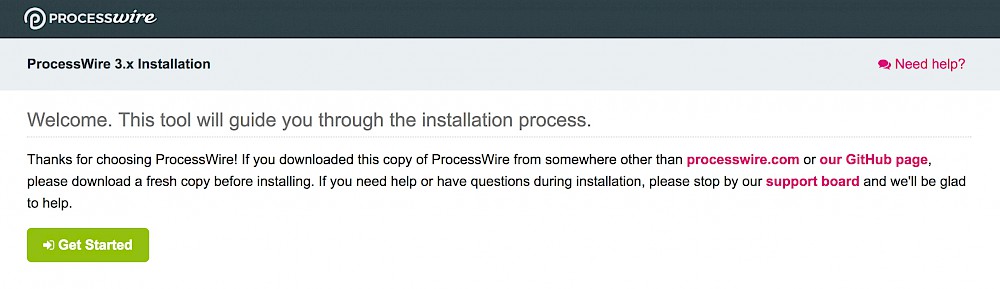
Go to your root URL to start the install. In my case, this is 'http://pw.tuts.dev'. You will be greeted with the welcome screen to start your install. Click 'Get Started' to begin.
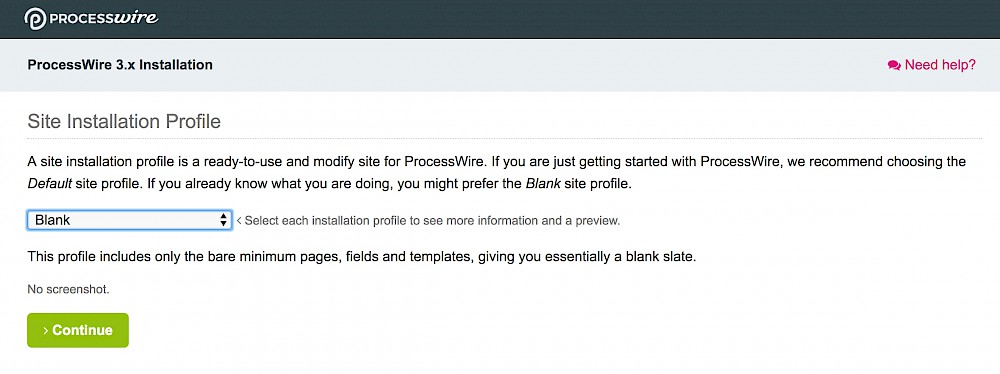
On the next page you have the choice of the following profiles:
I always choose the blank one as I find it easier starting with nothing rather than trying to manipulate existing profiles. Choose one and click 'Continue'.
The next page will show that the installer has renamed the profile folder to 'site'.

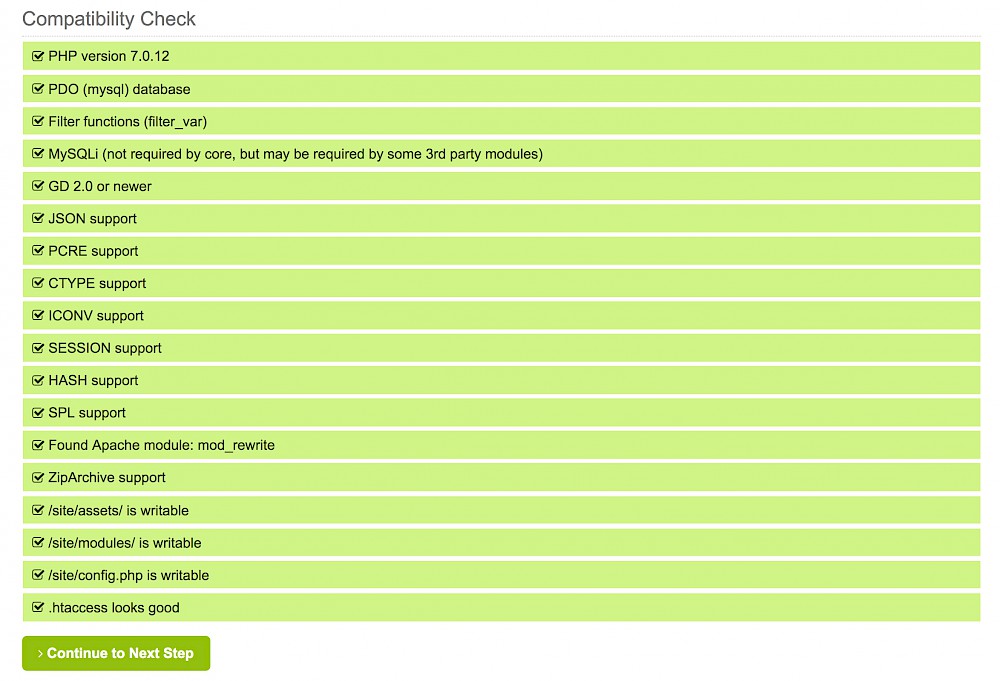
A compatibility check is also performed on your server environment to make sure it's all set up correctly to run processwire. Green = good. If all is good, click 'Continue to Next Step'.
NOTE: If you get problems here, see the bottom of this post for troubleshooting info.
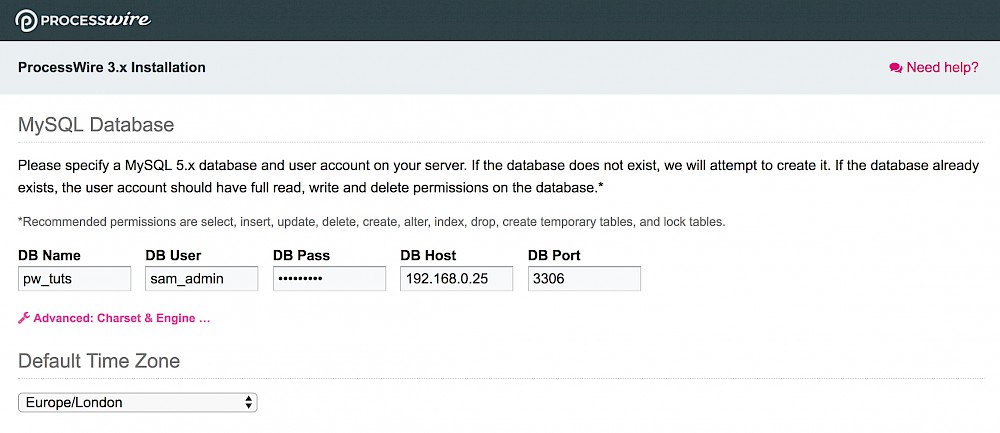
On the next page, enter your database user/name/pass/host information. The DB Host will most likely be 'localhost' with a DB Port of 3306. In my case above, I access the database from two computers at home (with the database being on one of them). Therefore I have a static local IP address to which I connect.
You can also choose a time zone here.
The lower part of the page allows you to adjust the file permissions and HTTP Host Names settings.
The default file permissions are 755 for directories and 644 for files. You will also want to further secure your '/site/config.php' file.
The 'HTTP Host Names' are the possible URLs you expect the site to be running on, enter one per line.
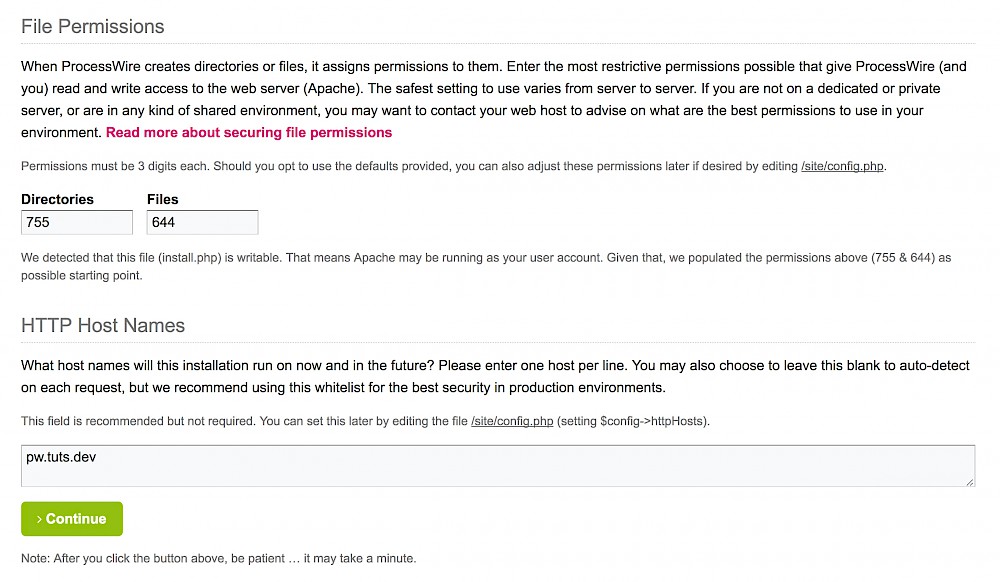
The above example would produce an entry in the file '/site/config.php' which can be changed later if required.
/**
* Installer: HTTP Hosts Whitelist
*
*/
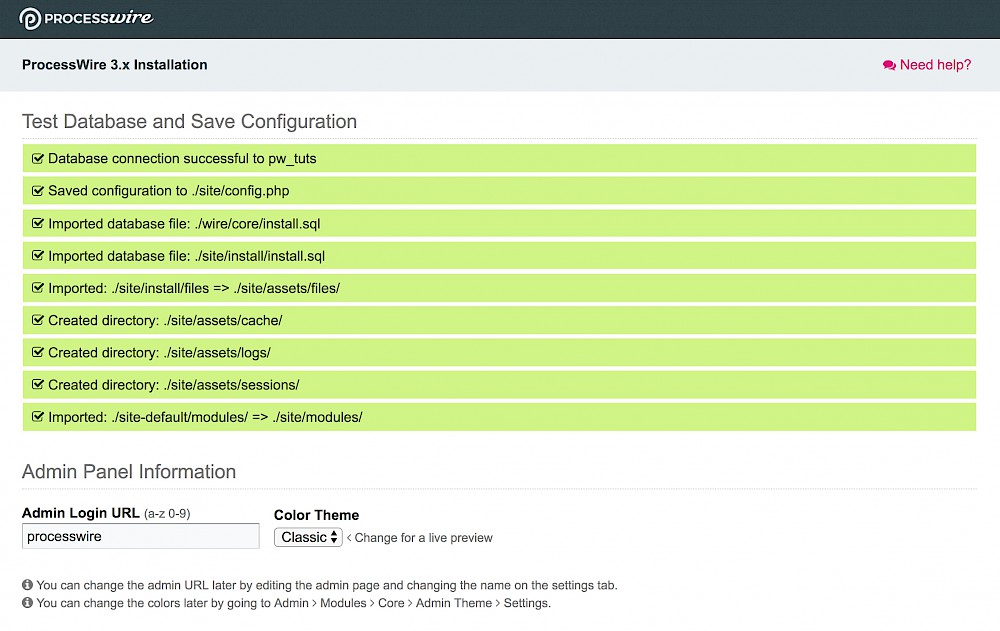
$config->httpHosts = array("pw.tuts.dev");On the next page, some database tests are performed. Green = good.
Admin Login URL: Choose the URL from which you will access the admin login form. The default is 'processwire' but you can choose whatever you want (restricted to lowercase characters a-z and numbers 0-9).
Colour theme: You can choose a colour theme now, or later at Admin > Modules > Default.
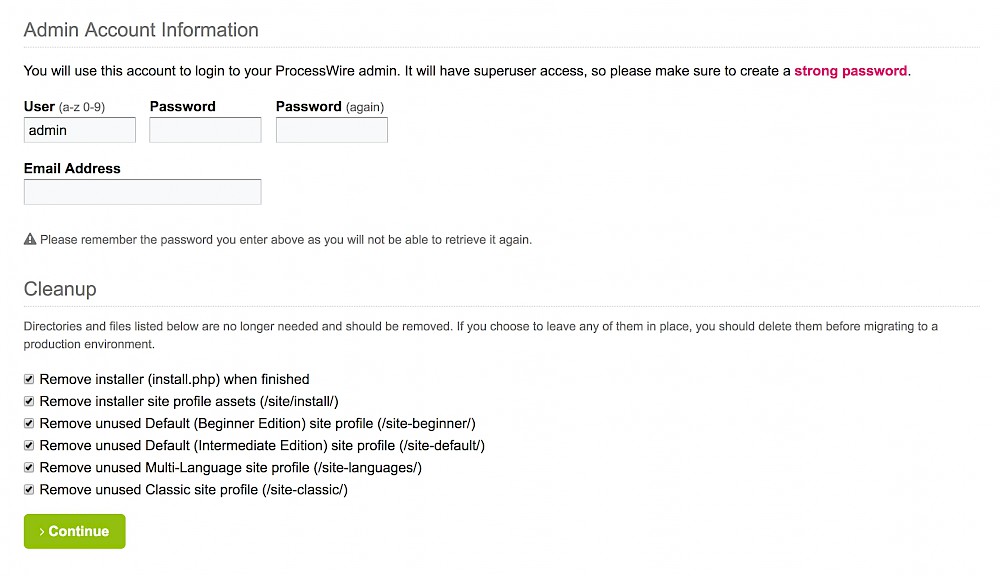
User: Your admin user name (preferably something other than admin).
Password: Your admin password (make it strong, 'admin123' is not a good idea).
Email: Email address of the admin user.
The files and folders that are no longer needed will be automatically removed when you click 'Continue'.
Your admin account has been created.
The red part tells you that 644 is not a suitable file permissions for this file. As mentioned already, make sure you further secure your '/site/config.php' file.
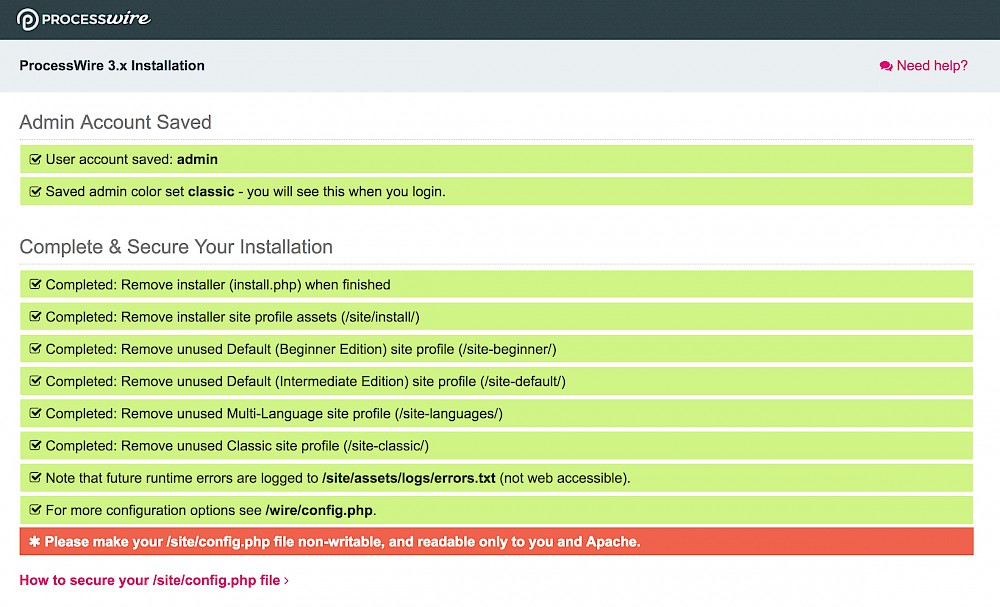
The lower half of the screen provides a couple of links for you to either login to your admin area or to view the site.

Great job! Processwire is installed and ready to go!
If you have any issues, you can check out the troubleshooting guide here.
Please note: I do not store any of this information, it's simply used to send me an email. Your email address is required so I can get clarification on your request if needed.